CSS Selectors Made Simple: How Styling Really Works
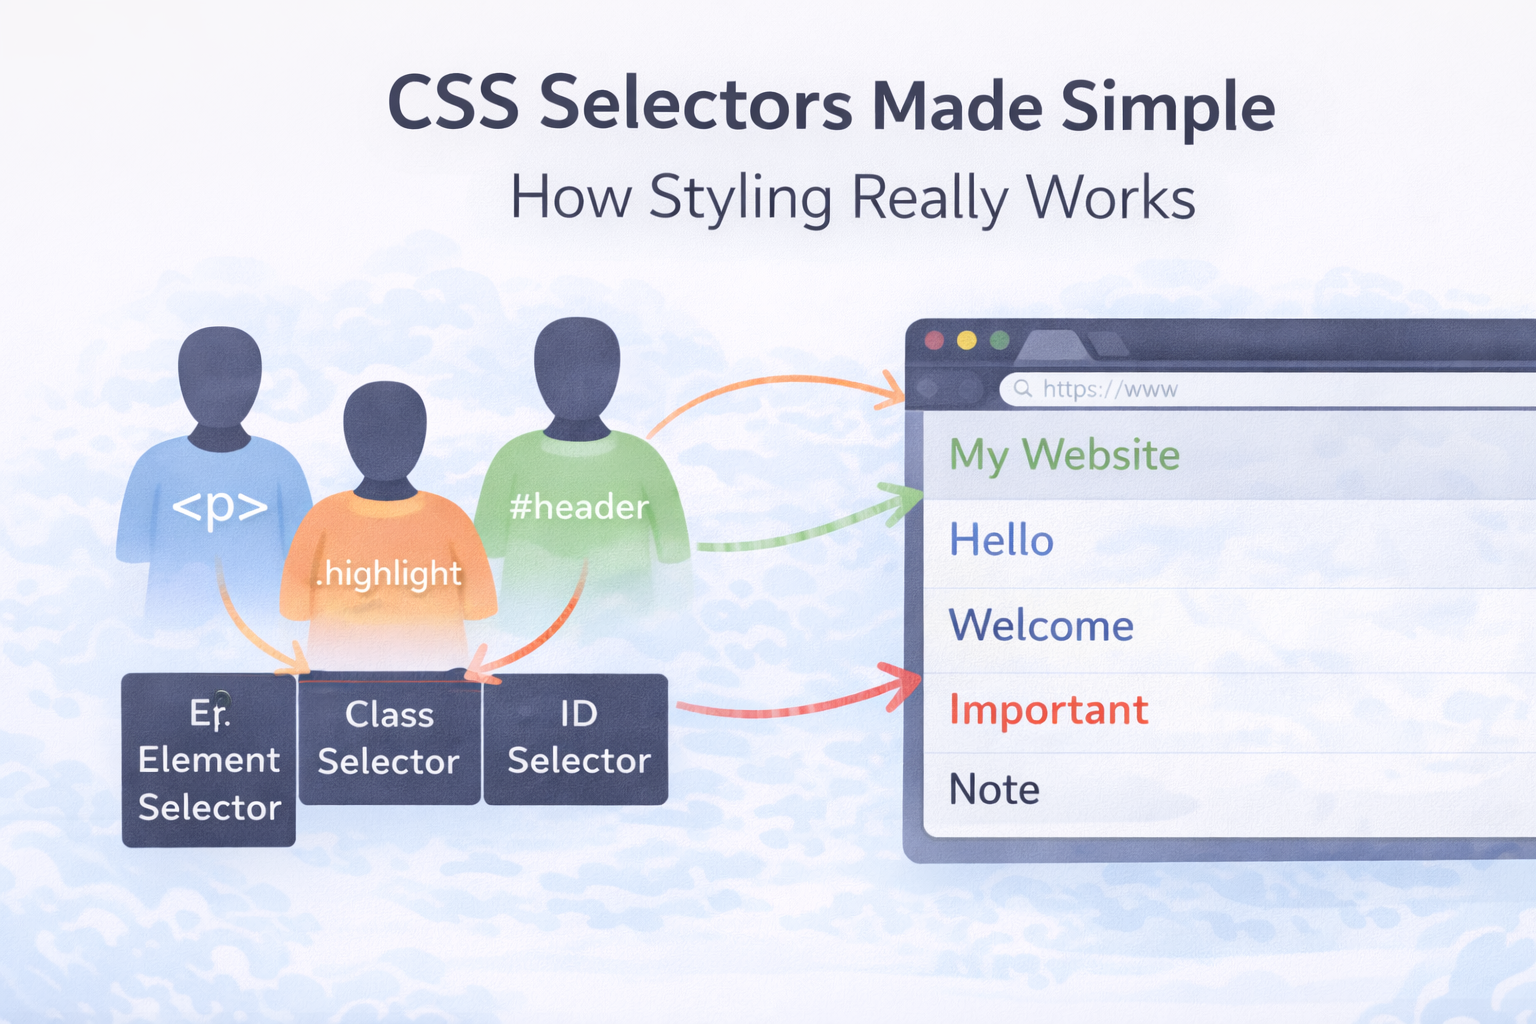
Honest beginner thought “I wrote CSS.. but how does it know which HTML to style?” That’s where CSS selectors come in.
Selectors are the foundation of CSS. If you understand selectors, CSS becomes much easier.
Let’s learn them step by step, without rushing.
Why Are CSS Selectors Needed?
HTML gives structure:
<p>Hello</p>
<p>Welcome</p>
CSS gives style:
p {
  color: red;
}
But here’s the big question “Which elements should the CSS apply to?”
Selectors are how CSS chooses elements.
Think of selectors as “Ways to point at specific HTML elements”
CSS Selectors
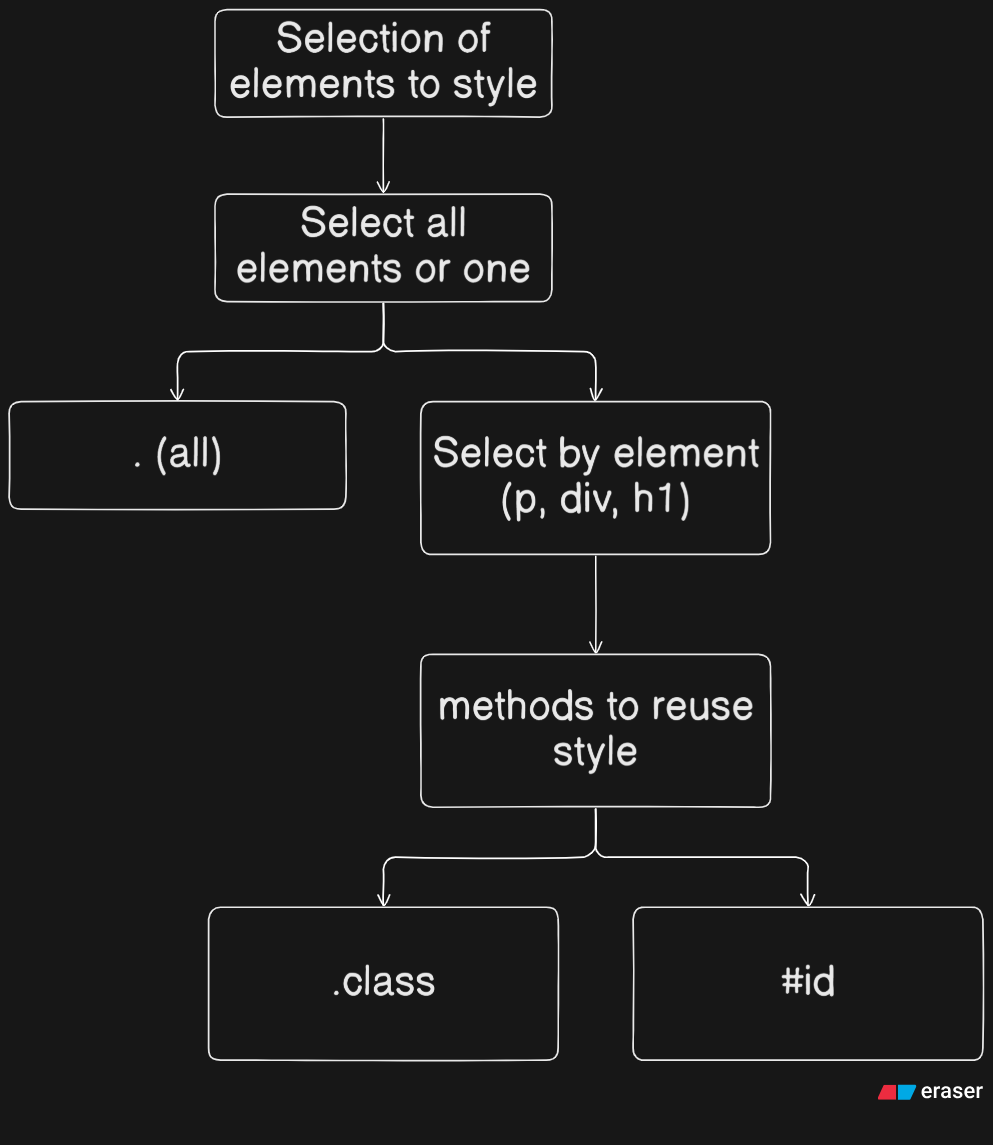
A CSS rule looks something like this:
selector {
  property: value;
}
Selector → who to style
Property → what to change
Value → how to change it
Everything starts with the selector.
Real-World Analogy
Imagine a hostel :
“Everyone” → element selector
“People wearing blue shirts” → class selector
“Room number 101” → ID selector
CSS selectors work the same way.
Element Selector
The element selector targets all elements of a type.
Example
p {
  color: blue;
}
Which means “Select all <p> elements and make their text blue”
Class Selector
Class selectors target elements with a class name.
HTML
<p class="highlight">Hello</p>
<p>World</p>
CSS
.highlight {
  color: red;
}
This means “Select elements with class highlight”
ID Selector
ID selectors target one unique element.
HTML
<h1 id="title">My Website</h1>
CSS
#title {
  color: green;
}
This clearly means “Select the element with ID title”. This is very specific.
Element vs Class vs ID
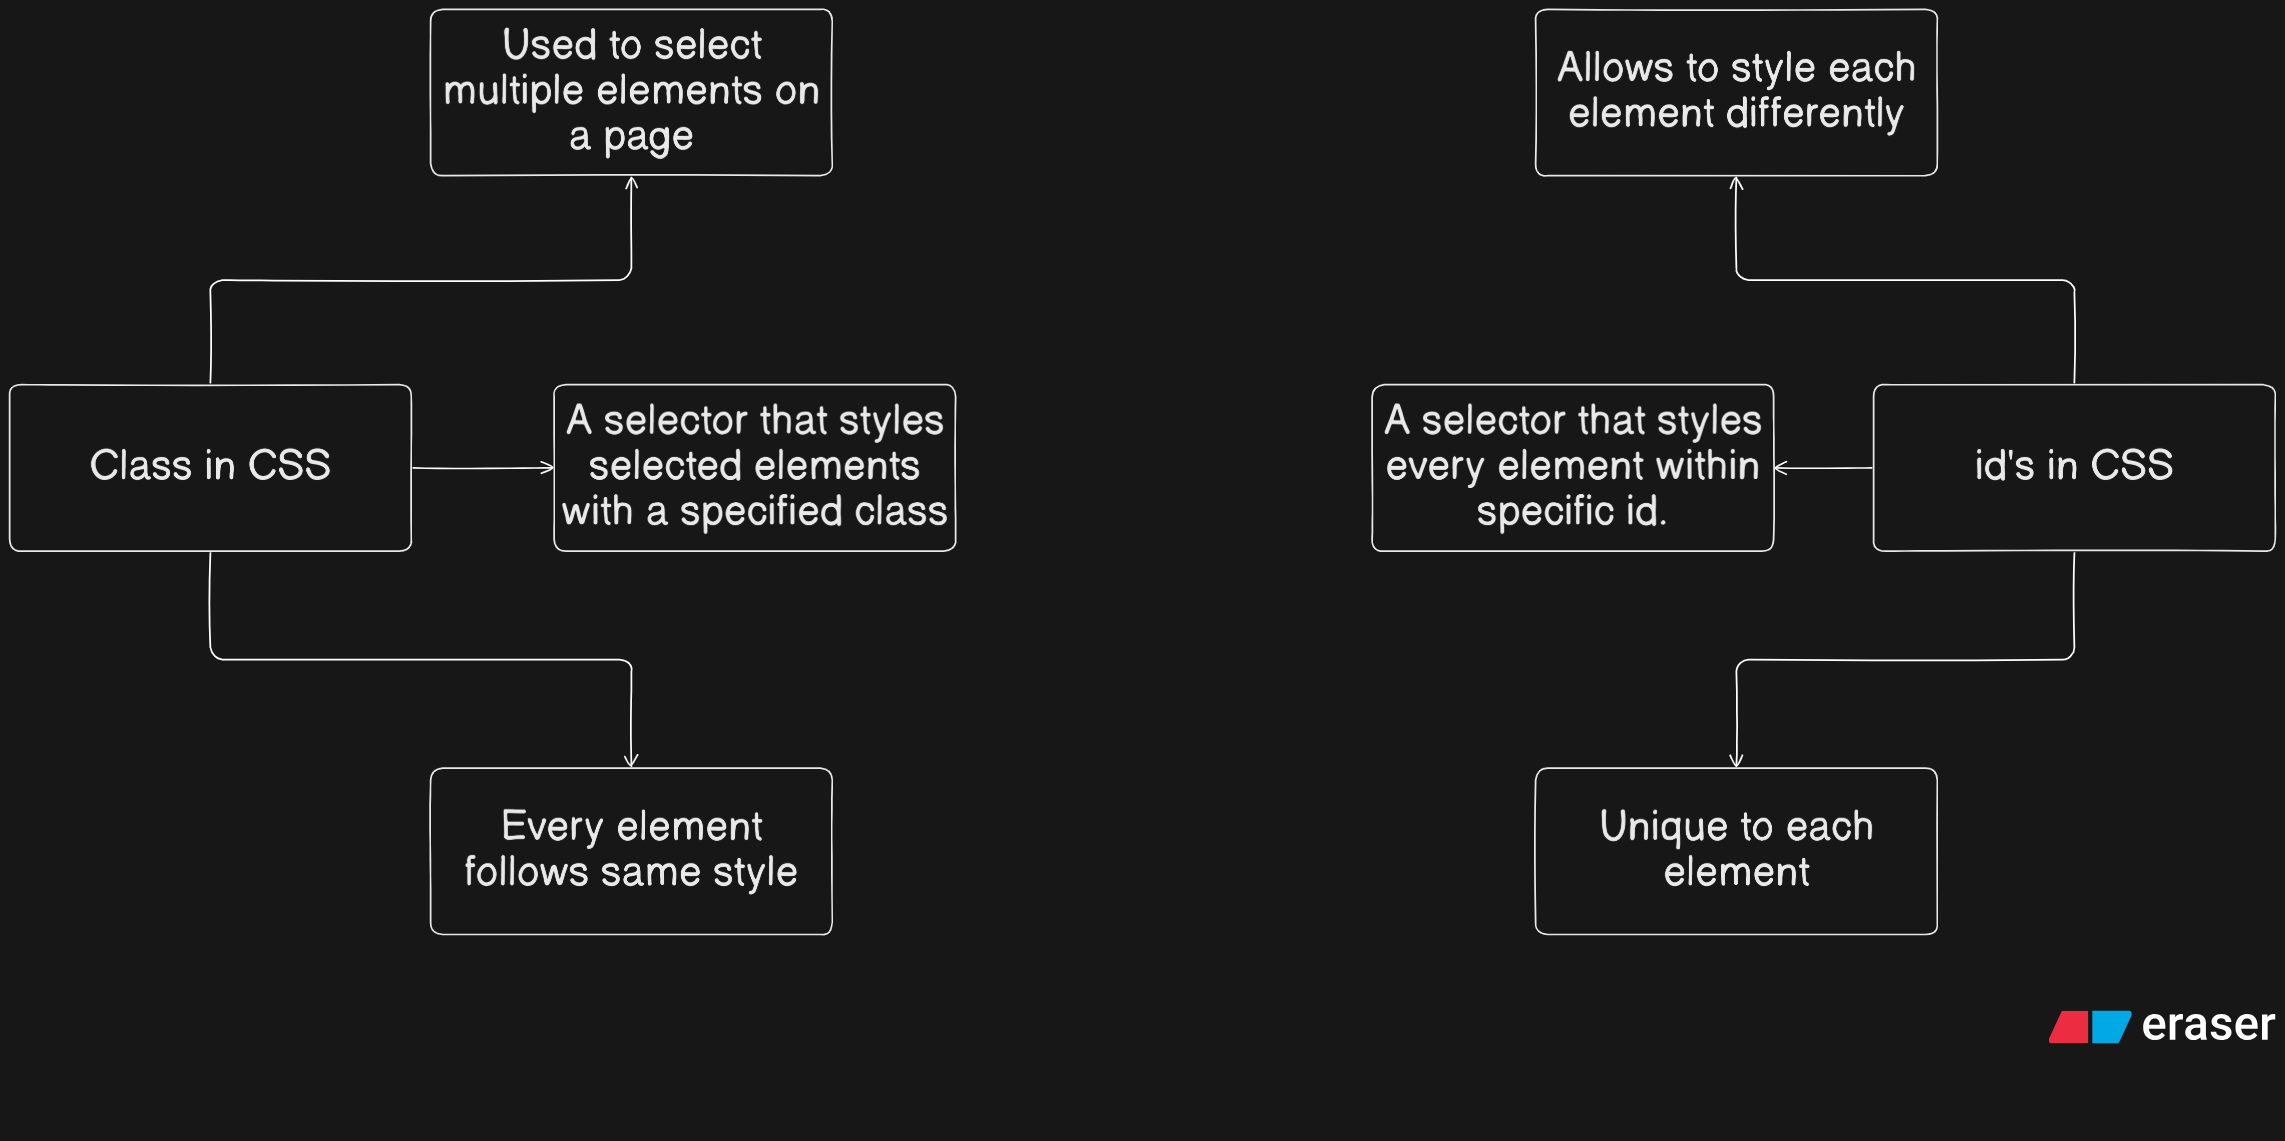
Element - p used to style all elements
Class - .box used to style multiple selected elements.
ID - #main used to style one unique element
Group Selector
Group selectors let you apply the same style to multiple selectors.
CSS
h1, h2, p {
  color: purple;
}
This means “Style h1, h2, and p the same way”. This reduces repetition and gives cleaner CSS code.
Descendant Selector
Descendant selectors target elements inside other elements.
HTML
<div>
  <p>Hello</p>
</div>

<p>Outside</p>
CSS
div p {
  color: orange;
}
Which means “Select <p> elements inside a <div>”. This is very powerful and commonly used in layouts.
Before & After Styling Difference
Before CSS
<p>Hello</p>
<p class="note">Important</p>
(There is no style and it has only plain text)
After CSS
p {
  color: black;
}

.note {
  color: red;
}
Now All paragraphs are black and only .note is red. This is the power of selectors.
Basic Selector Priority
Sometimes multiple selectors target the same element.
Example
p {
  color: blue;
}

.note {
  color: red;
}
<p class="note">Text</p>
Result: Red text
Conclusion
ID > Class > Element. These are priority levels of selectors if single element is selected by multiple selectors. ID is strongest and Element is weakest.
Try to understand the concepts as it feels overwhelming right now it is complete beginner stress as you practice you keep getting good in CSS.


